
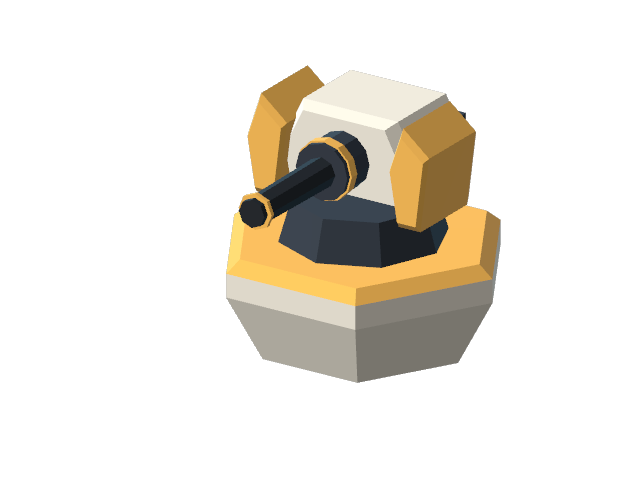
Targets: Ground and air
Kinetic Cannon
Fast, precise fire against one target. A dependable answer to Gliders and light enemies.
100 credits · Build
Upgrades and specializations
Warden systems online
Command a compact defense force against the Vesk hive. Build clever, upgrade boldly, and keep every Heartspring burning.
The Verdance Compact
Every outpost is anchored by a Heartspring, a living core of light that feeds its greenhouses, turbines, and towns. Now the Vesk have found them.
“You’re the Warden now. Hold the line.”Commander Vale
Campaign atlas
Move through the Lumen system from tide gardens to frozen shelves, volcanic rifts, and the Emerald Wilds.
Warden weapons guide
Choose your tower, then commit to a specialization at Level 2. Compare every upgrade using the actual in-game models.
Targets: Ground and air
Fast, precise fire against one target. A dependable answer to Gliders and light enemies.
100 credits · Build
Upgrades and specializations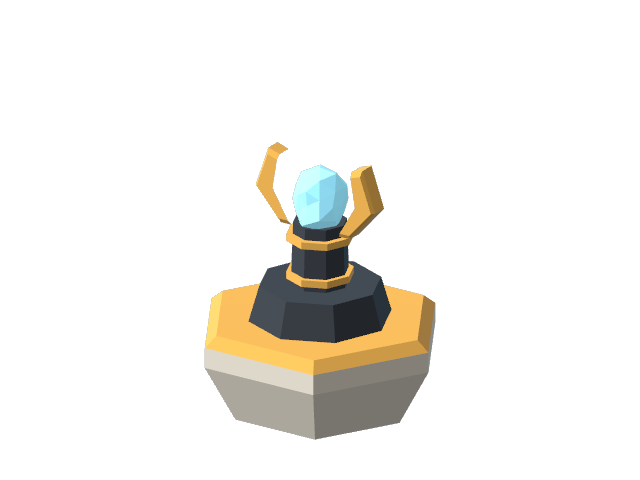
Targets: Ground
Lightning jumps between nearby ground enemies and overloads Bulwark shields.
150 credits · Build
Upgrades and specializations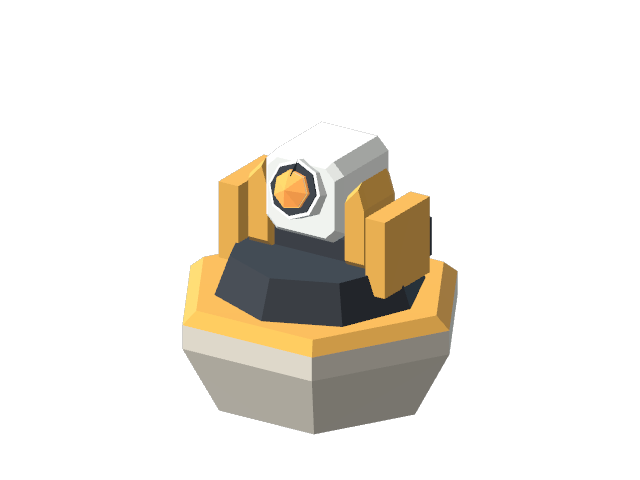
Targets: Ground and air
Long range rockets with splash damage. Especially effective against heavy armor and bosses.
200 credits · Build
Upgrades and specializations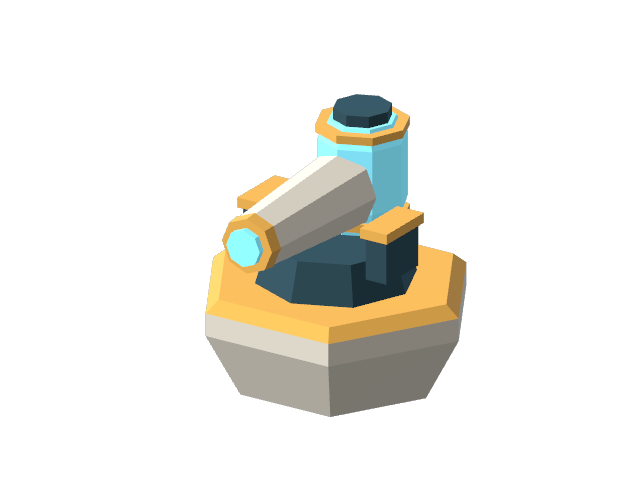
Targets: Ground
Slows ground enemies so your other weapons have more time to attack. Cannot hit Gliders.
175 credits · Build
Upgrades and specializationsUpgrades and specializations
Cover open approaches. Against Carapaces and bosses, choose Armor Piercing or pair the cannon with missiles.
One barrel fires orange tracer rounds with a brief muzzle flash. Kinetic hits Gliders 25% harder, but heavy armor reduces its damage.
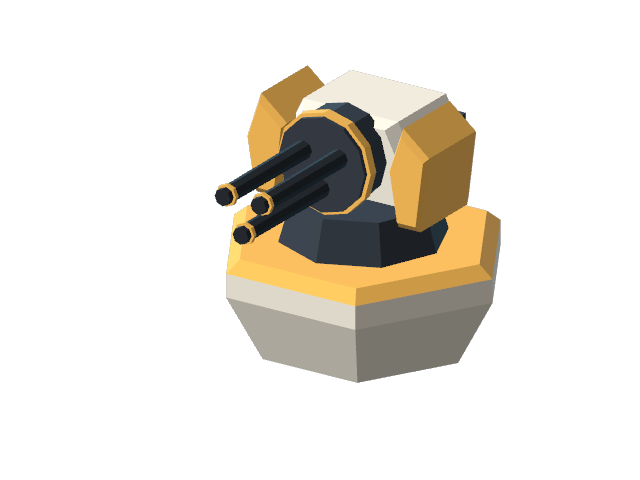
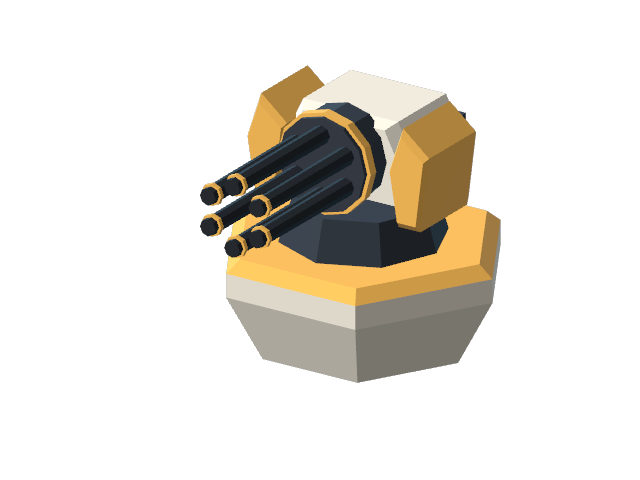
Use against Scouts, Skitters and Gliders when you need a steady stream of shots.
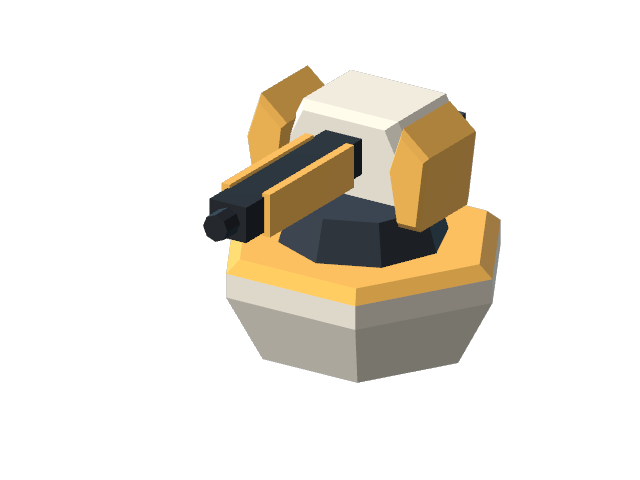
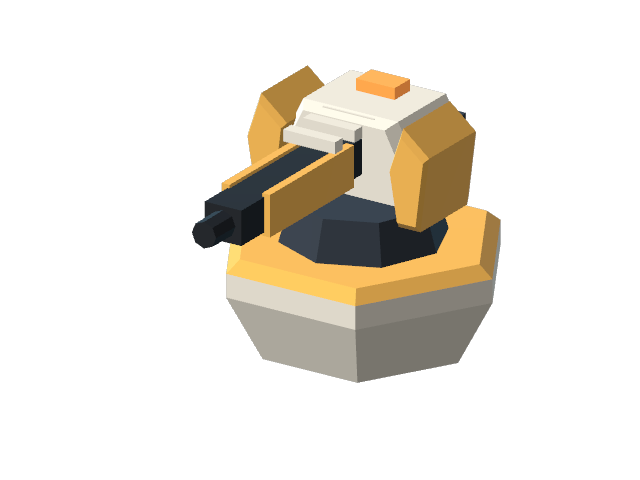
Focus armored walkers and large bosses. This branch still takes the normal enemy armor modifiers into account.
Upgrades and specializations
Place at busy bends where ground enemies bunch up. Support it with an anti-air tower.
The first arc can jump to one nearby ground enemy. Tesla deals double damage to shields and 30% extra damage to Skitters.
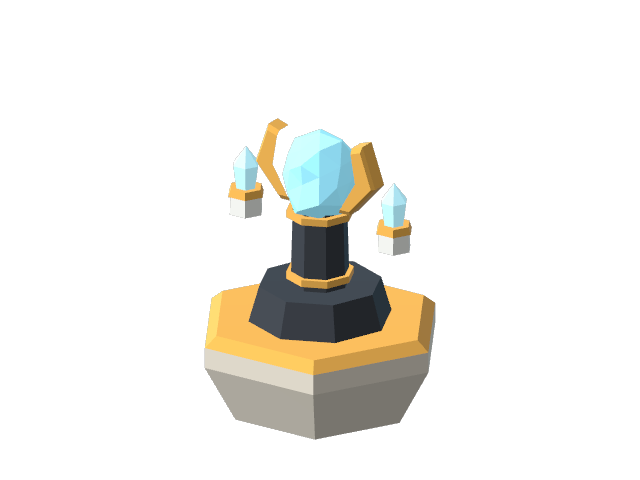
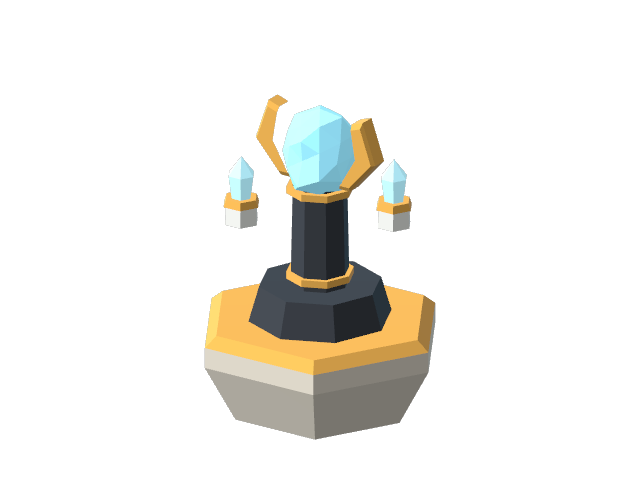
Use against dense Skitter packs and groups sheltered behind heavier enemies.
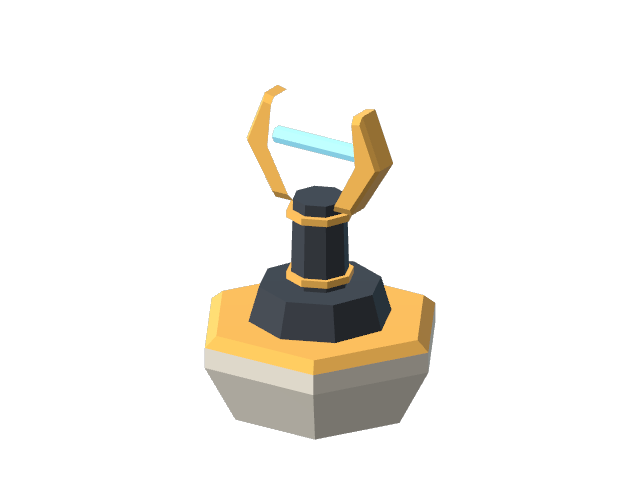
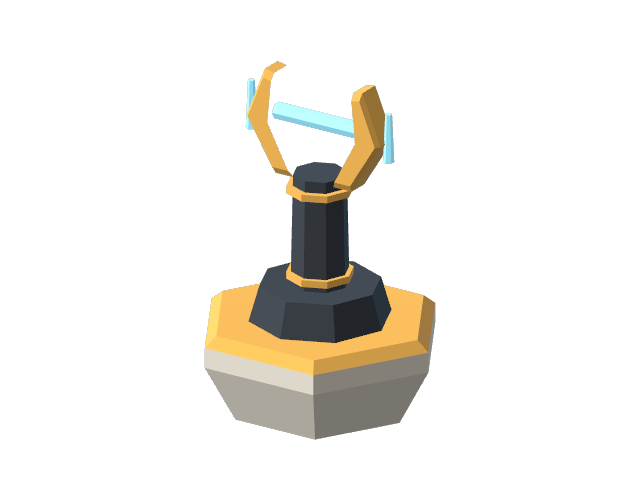
Break shields so the rest of your defense can reach the enemies underneath.
Upgrades and specializations
Choose wide blasts for ground packs or guided anti-air salvos for Gliders. Rockets launch from the tubes you can see.
One rocket per salvo. Direct hits deal 40% extra damage to Carapaces, 30% to Behemoths and 20% to Queens. Normal missiles can also hit flyers.
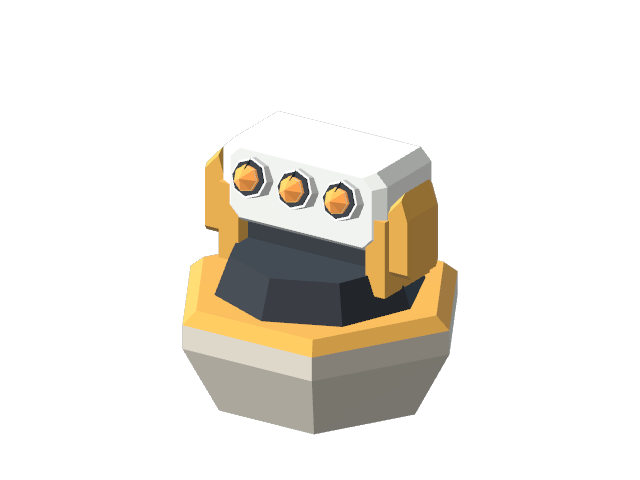
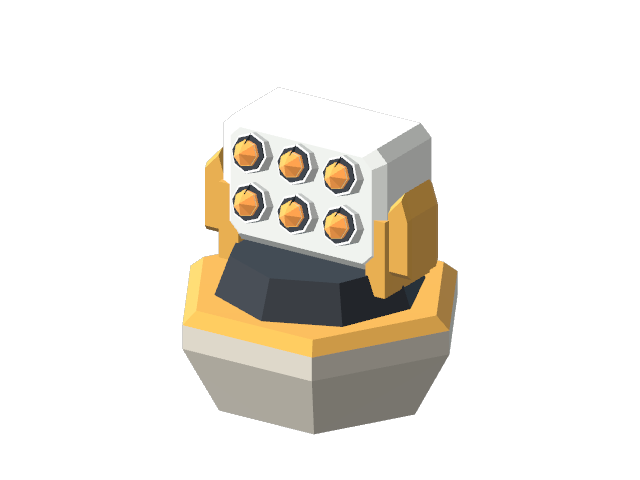
Use against groups on tight bends. Splash damage hits ground enemies around each impact.
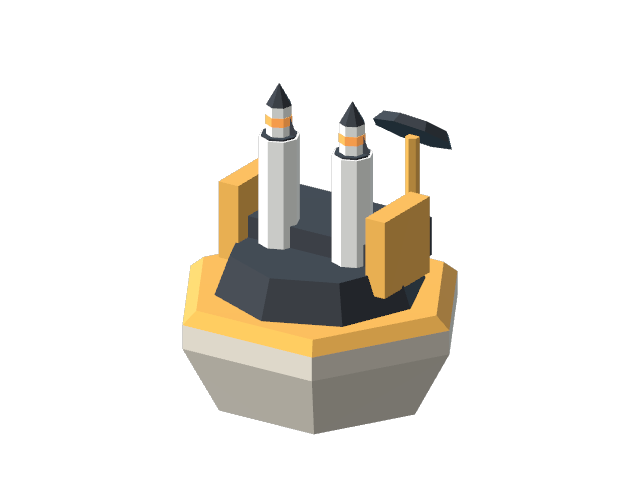
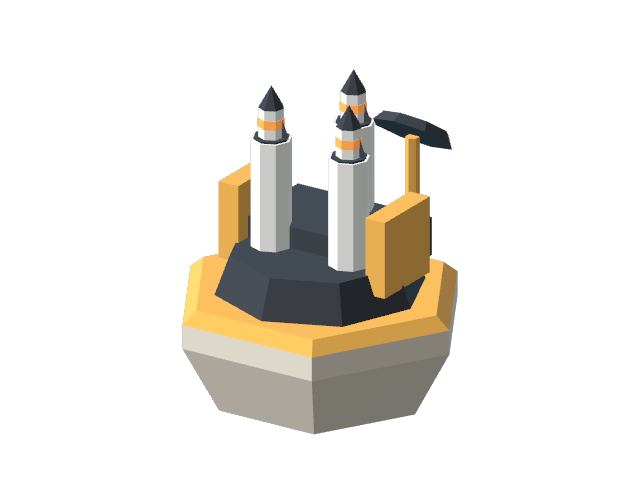
Use for air defense. Sky Hunter prioritizes flyers even when a ground enemy has been manually selected.
Upgrades and specializations
Use near towers covering long bends. Glacia extends the slow, while Pyros weakens Frost and strengthens missiles.
A short cyan spray reduces the target to 58% movement speed for 0.9 seconds before planetary modifiers.
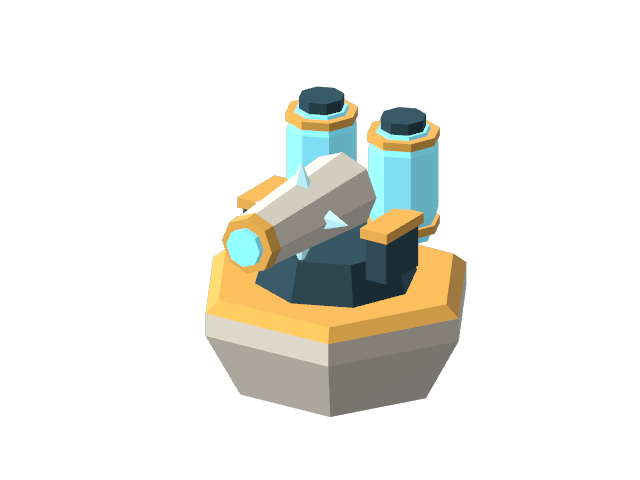
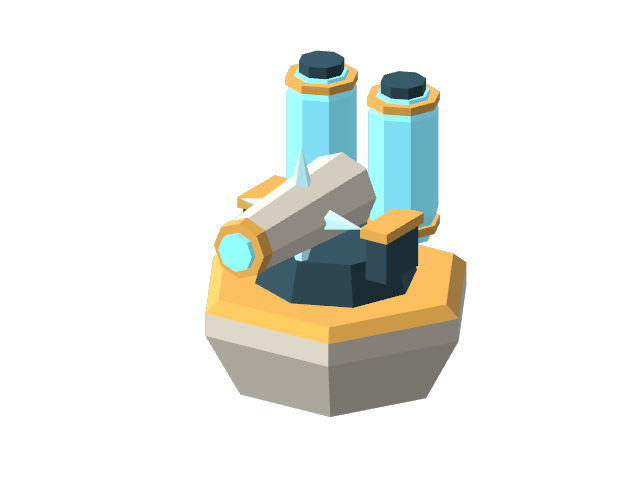
On Glacia, slows last 35% longer. A slowed ground enemy killed there also damages nearby ground enemies.
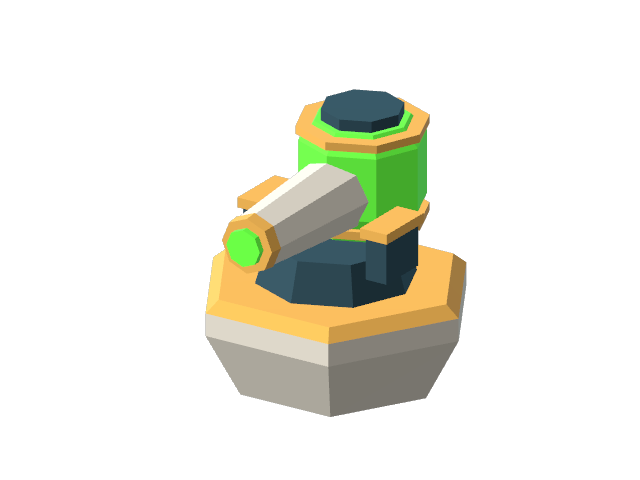
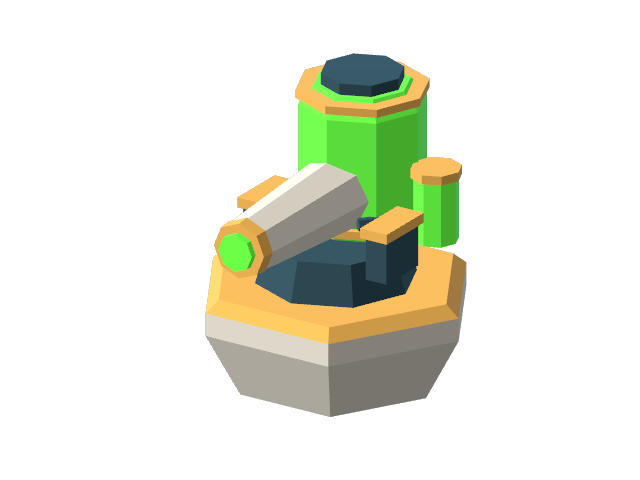
Glue deals 50% extra damage to Carapaces. It does not remove their armor for other towers.
Base damage is shown before enemy and planet modifiers. Missile damage is shared across the salvo, so six rockets do not mean six times the damage.
Field guide
A tower on the inside of a curve covers more road. Save straight sections for long range missile batteries.
Tesla arcs overload Bulwark shields at double strength. Let missiles and cannons finish what the storm begins.
Gliders ignore the road. Kinetic cannons can hit them, and Sky Hunter missiles prioritize them. Tesla and Frost only attack ground enemies.
Tap an alien to make towers within range target it first. Focus fire on a Mender before it heals the swarm or a dangerous enemy nearing the Heartspring. Only towers that can attack that enemy will respond.
Tesla chains shred Skitter packs. Frost buys time for every other weapon and glue turns a rush into a crawl.
Level three systems are powerful investments. Cover the map first, then strengthen the positions that fire longest.
Latest updates
Play on iPhone, iPad and Meta Quest. Plan your defense with these tactical features.
Survive for one star. Finish with at least 75% Heartspring health for two. Keep it completely unharmed for three.
On Glacia, Frost slows last 35% longer. On Pyros, missiles deal 15% more damage, while Frost damage, slowing strength, and duration are reduced.
Level two commits a tower to one of two paths. Invest in the towers covering your busiest bends, then upgrade them to level three.
Use clear hexagons between road sections to cover several approaches. Preview the range before placing, then sell and rebuild if you need to move a tower.
Menders restore 20% of nearby injured Vesk maximum health every two seconds. Green pulses, links and plus signs reveal who is being healed. Tap the Mender to focus compatible towers within range.
Recognizable tower branches, rockets that match their launch tubes, and clearer enemy footsteps make the fight easier to follow. The Heartspring and Vesk mothership have new models too.
Vesk intelligence

Now on the App Store and Meta Quest
Solarpunk is now available for iPhone and iPad on the App Store, and on Meta Quest. Defend seven planets with touch controls, or play in VR with controllers or hand tracking.